Josh bought an imported kit of the Yashinskiy F1N earlier this year after Bill Gowen imported several of them. This design has absolutely dominated the Eastern European F1N (indoor hand launched glider) for the past few years, and for good reason. The fuselage alone is enough to make them desirable. It’s incredibly stiff but only weighs 1.3g. Mikhail makes these himself.
Here are the plans:
And here’s what you get in the kit (yes, pre-assembled, pre tapered wing panels–you only need to sand the leading edge profile!):
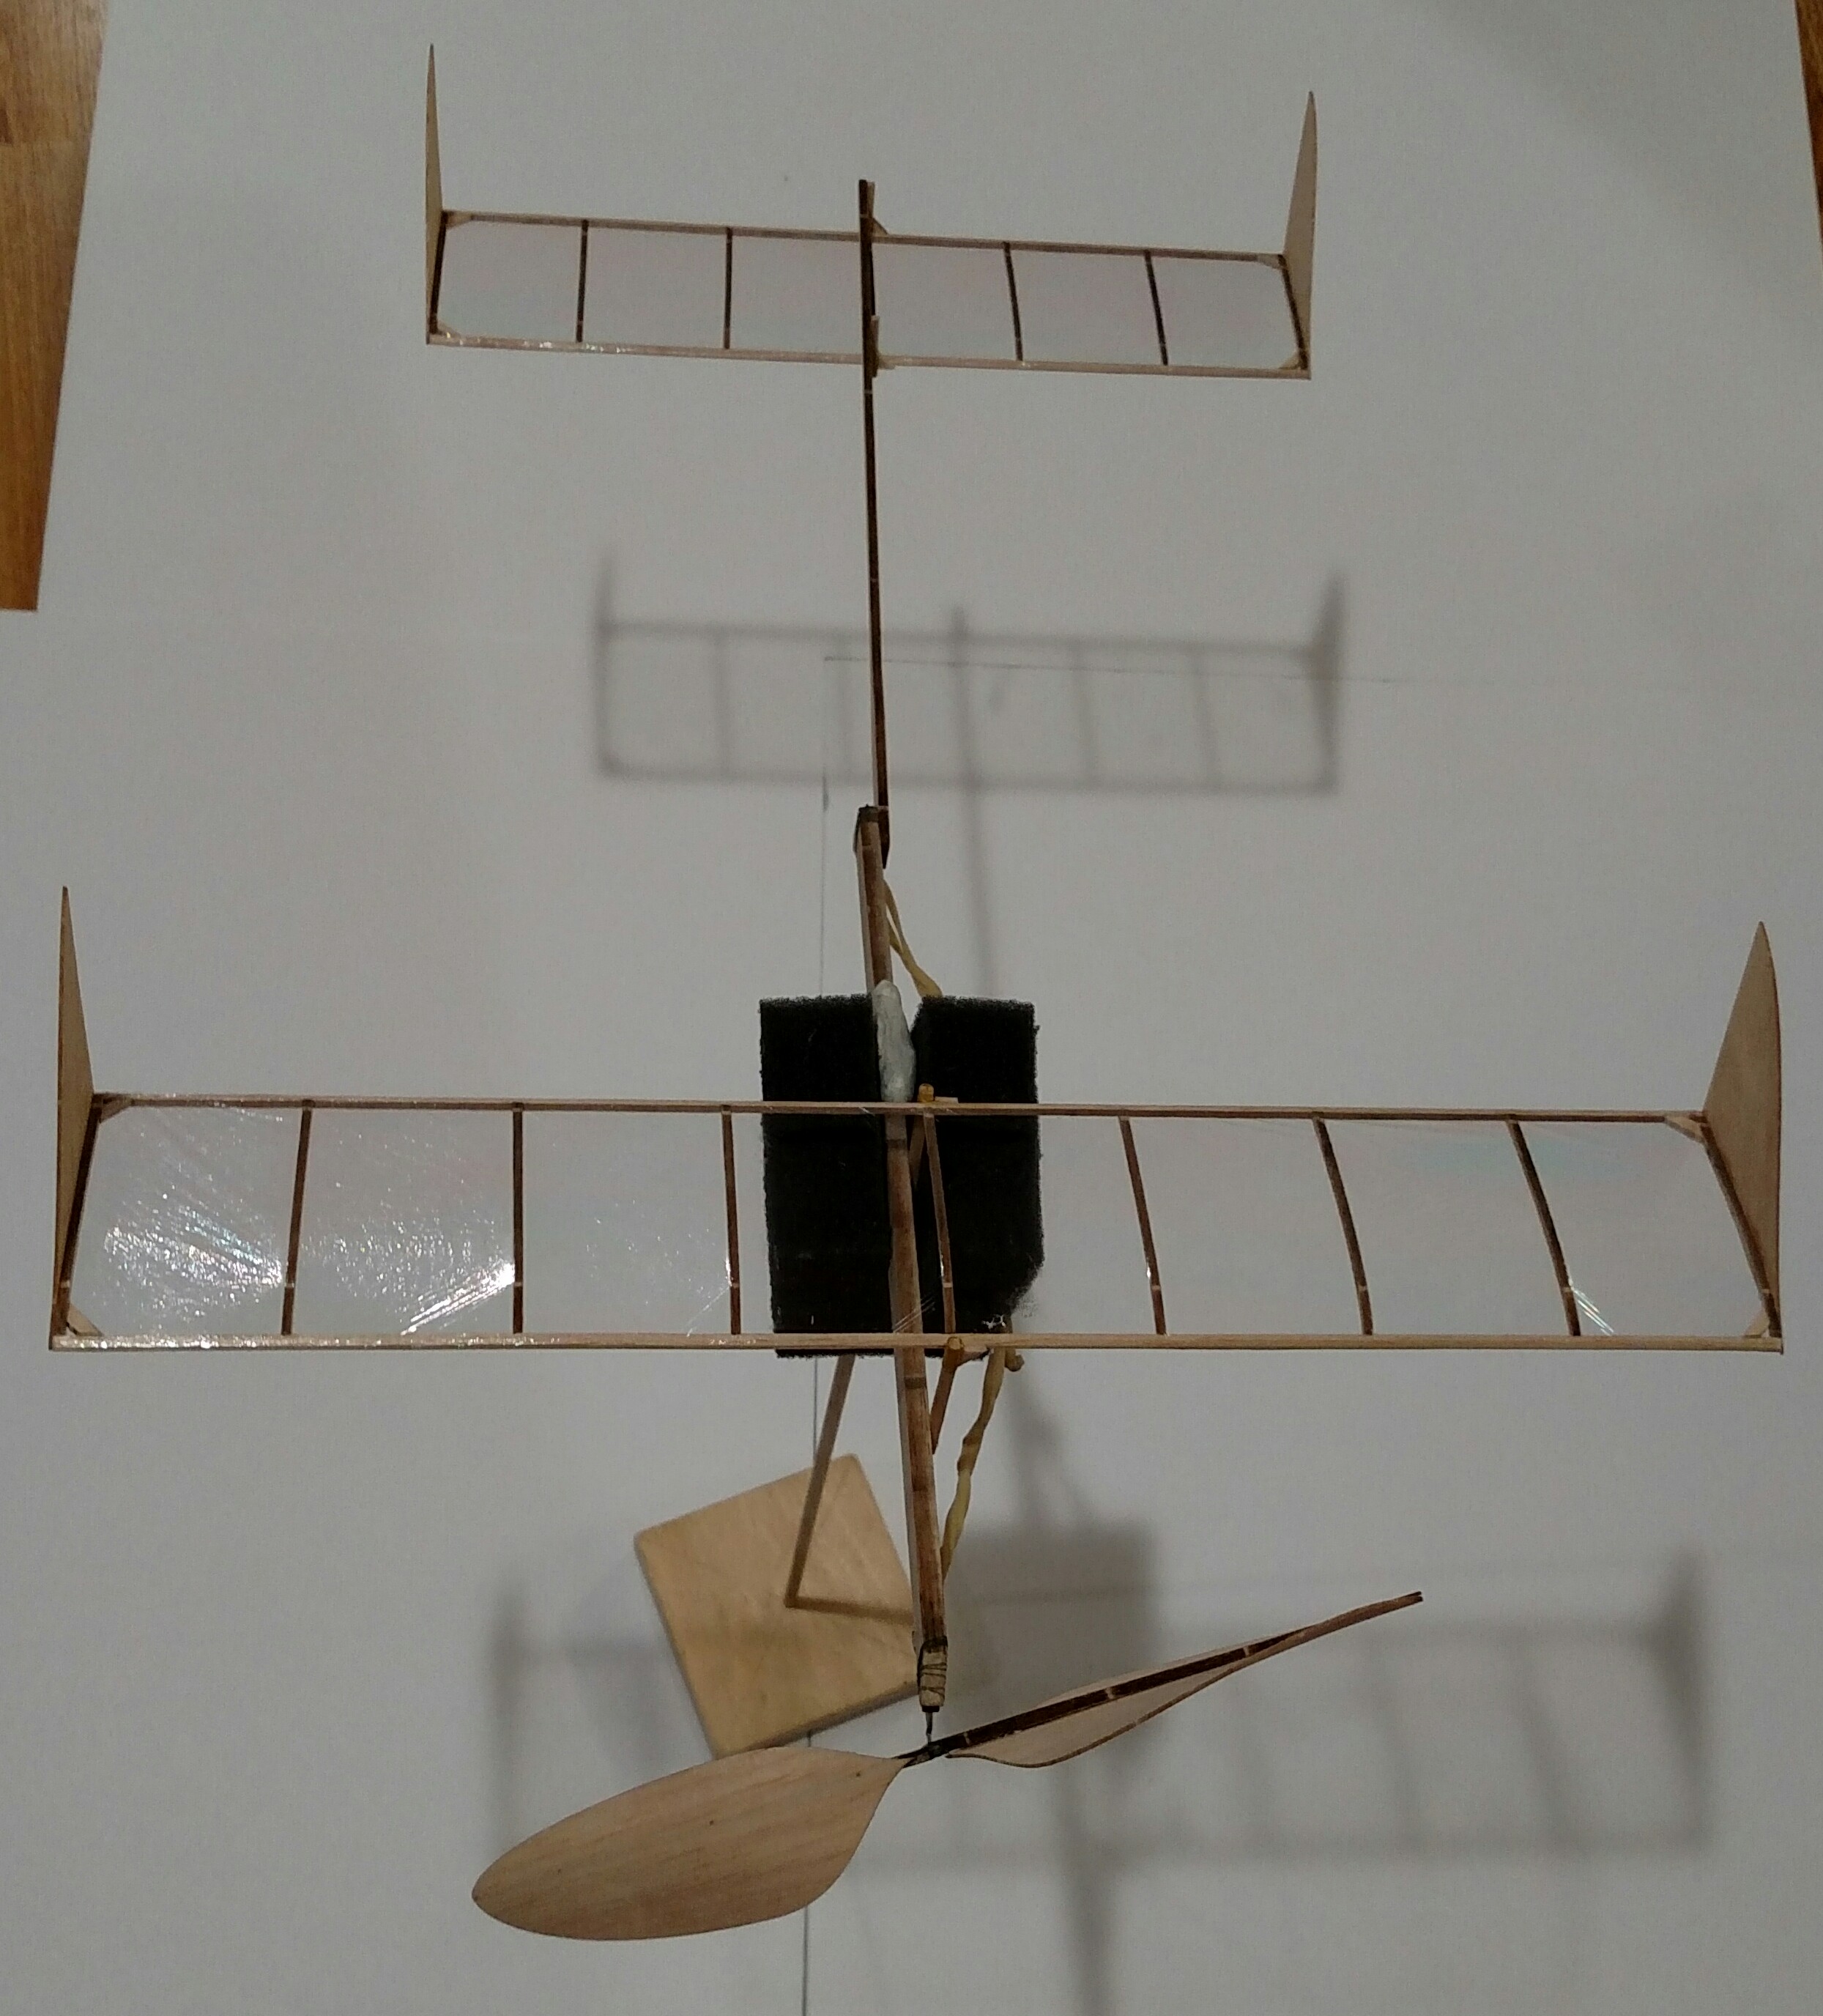
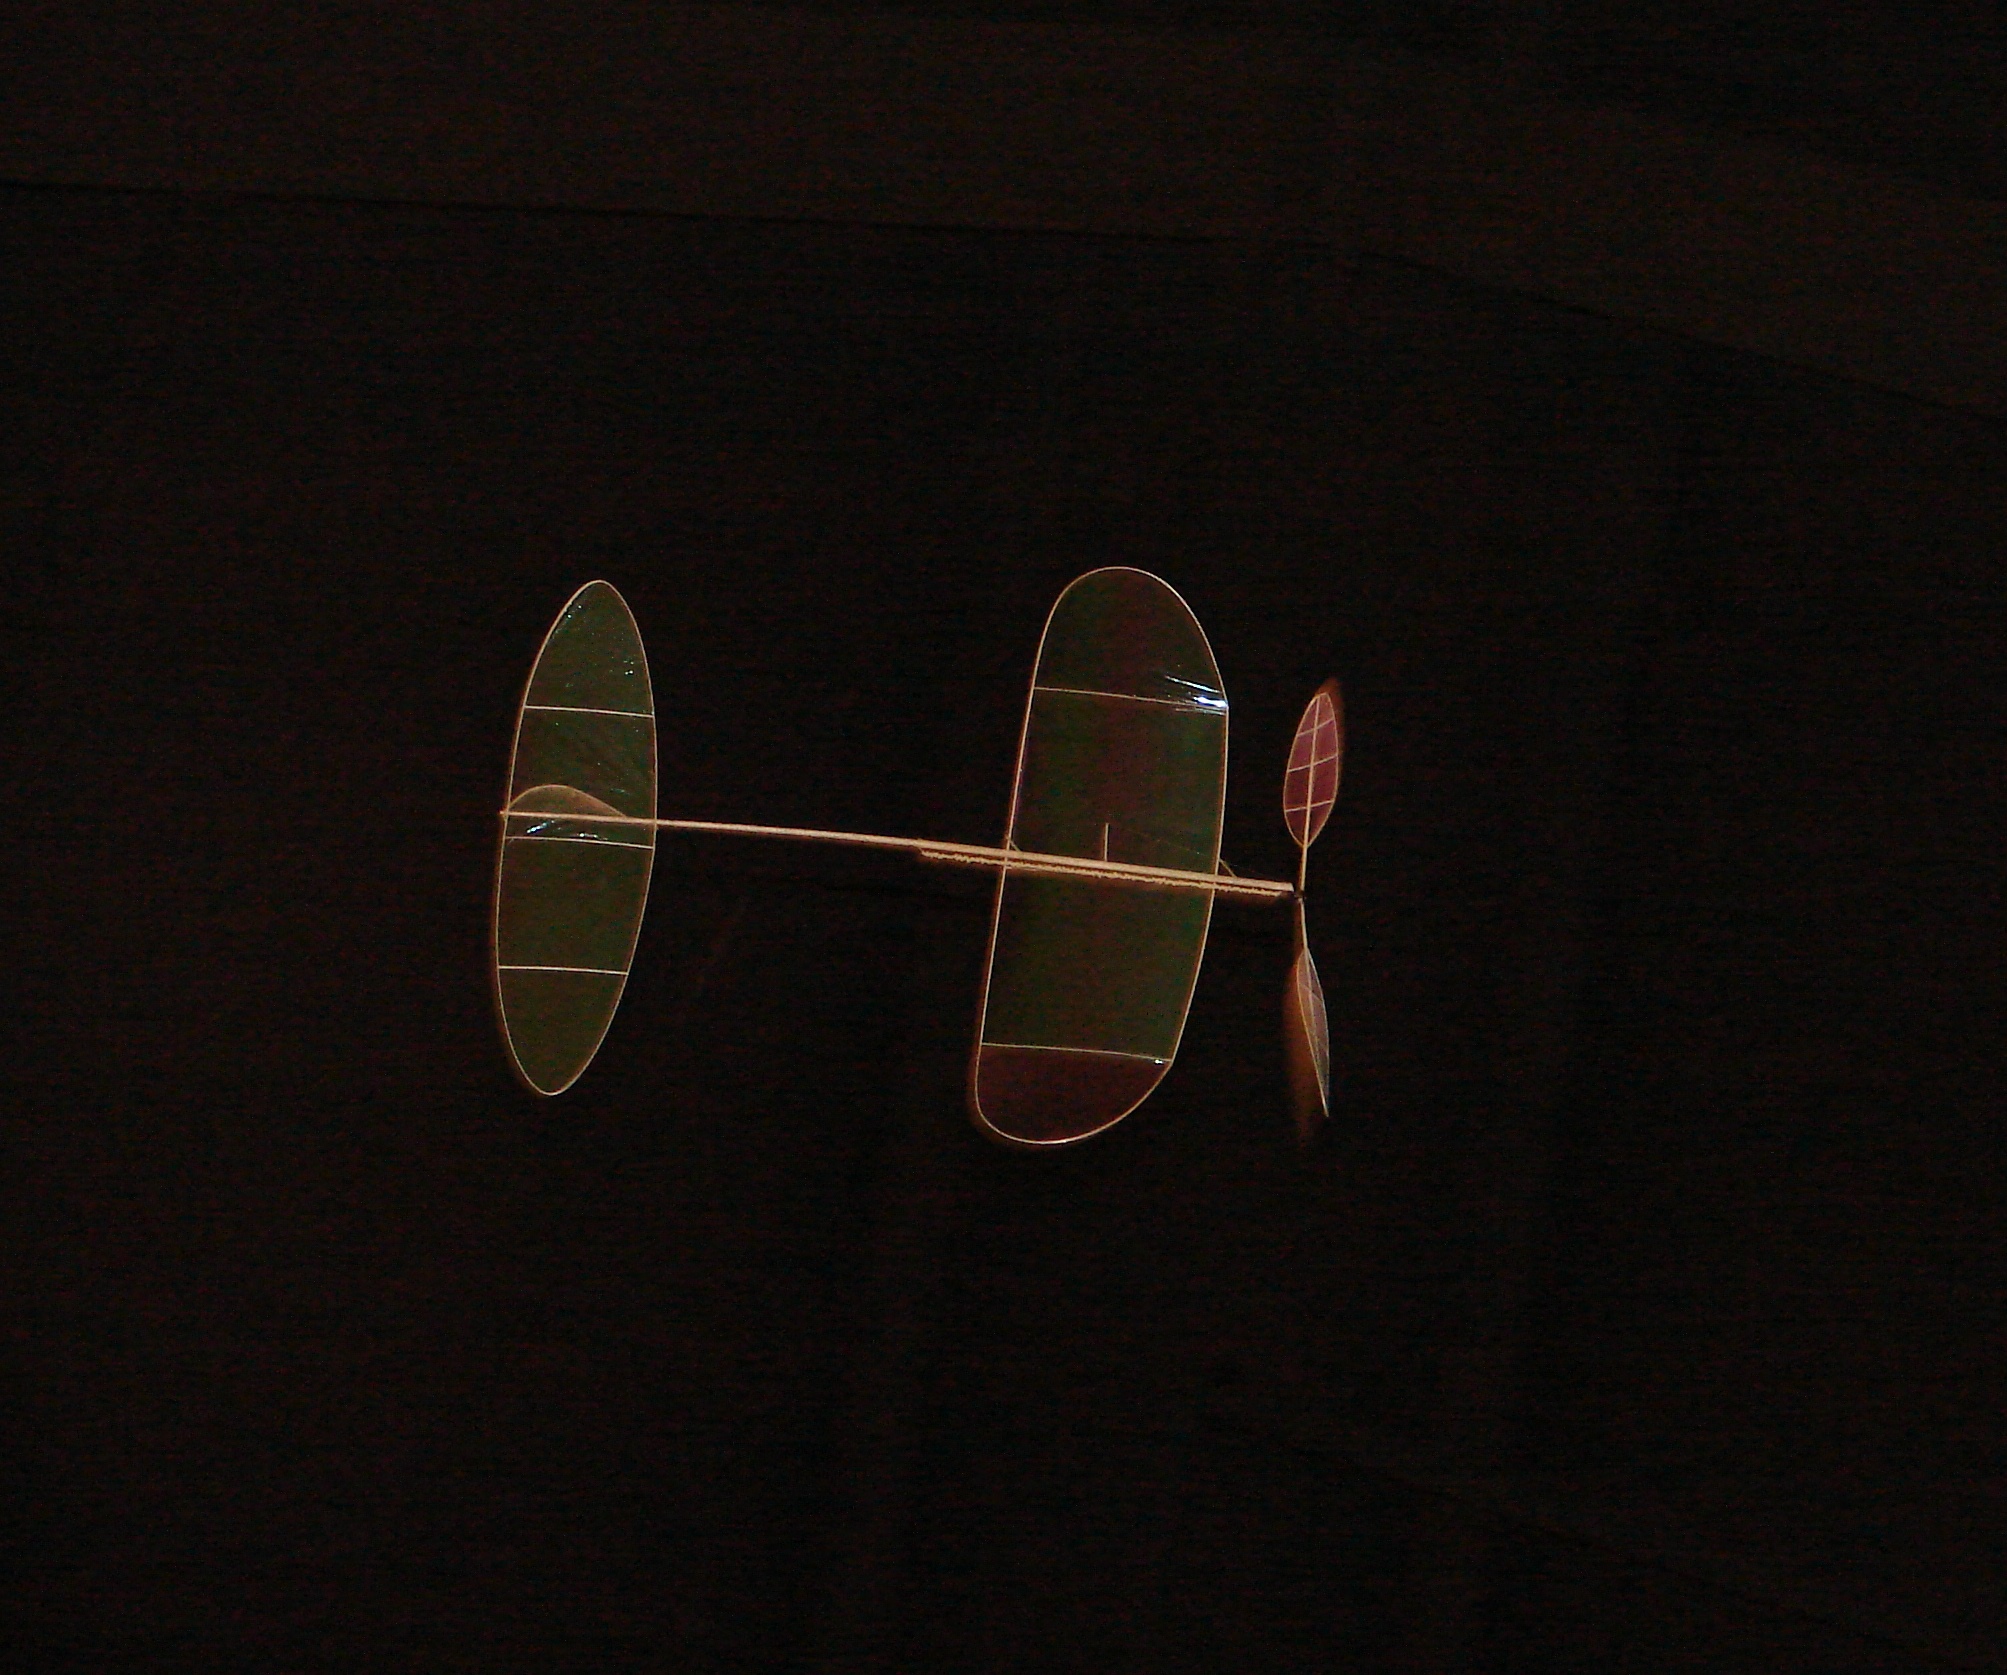
And some views of the finished model:
Complete build video:
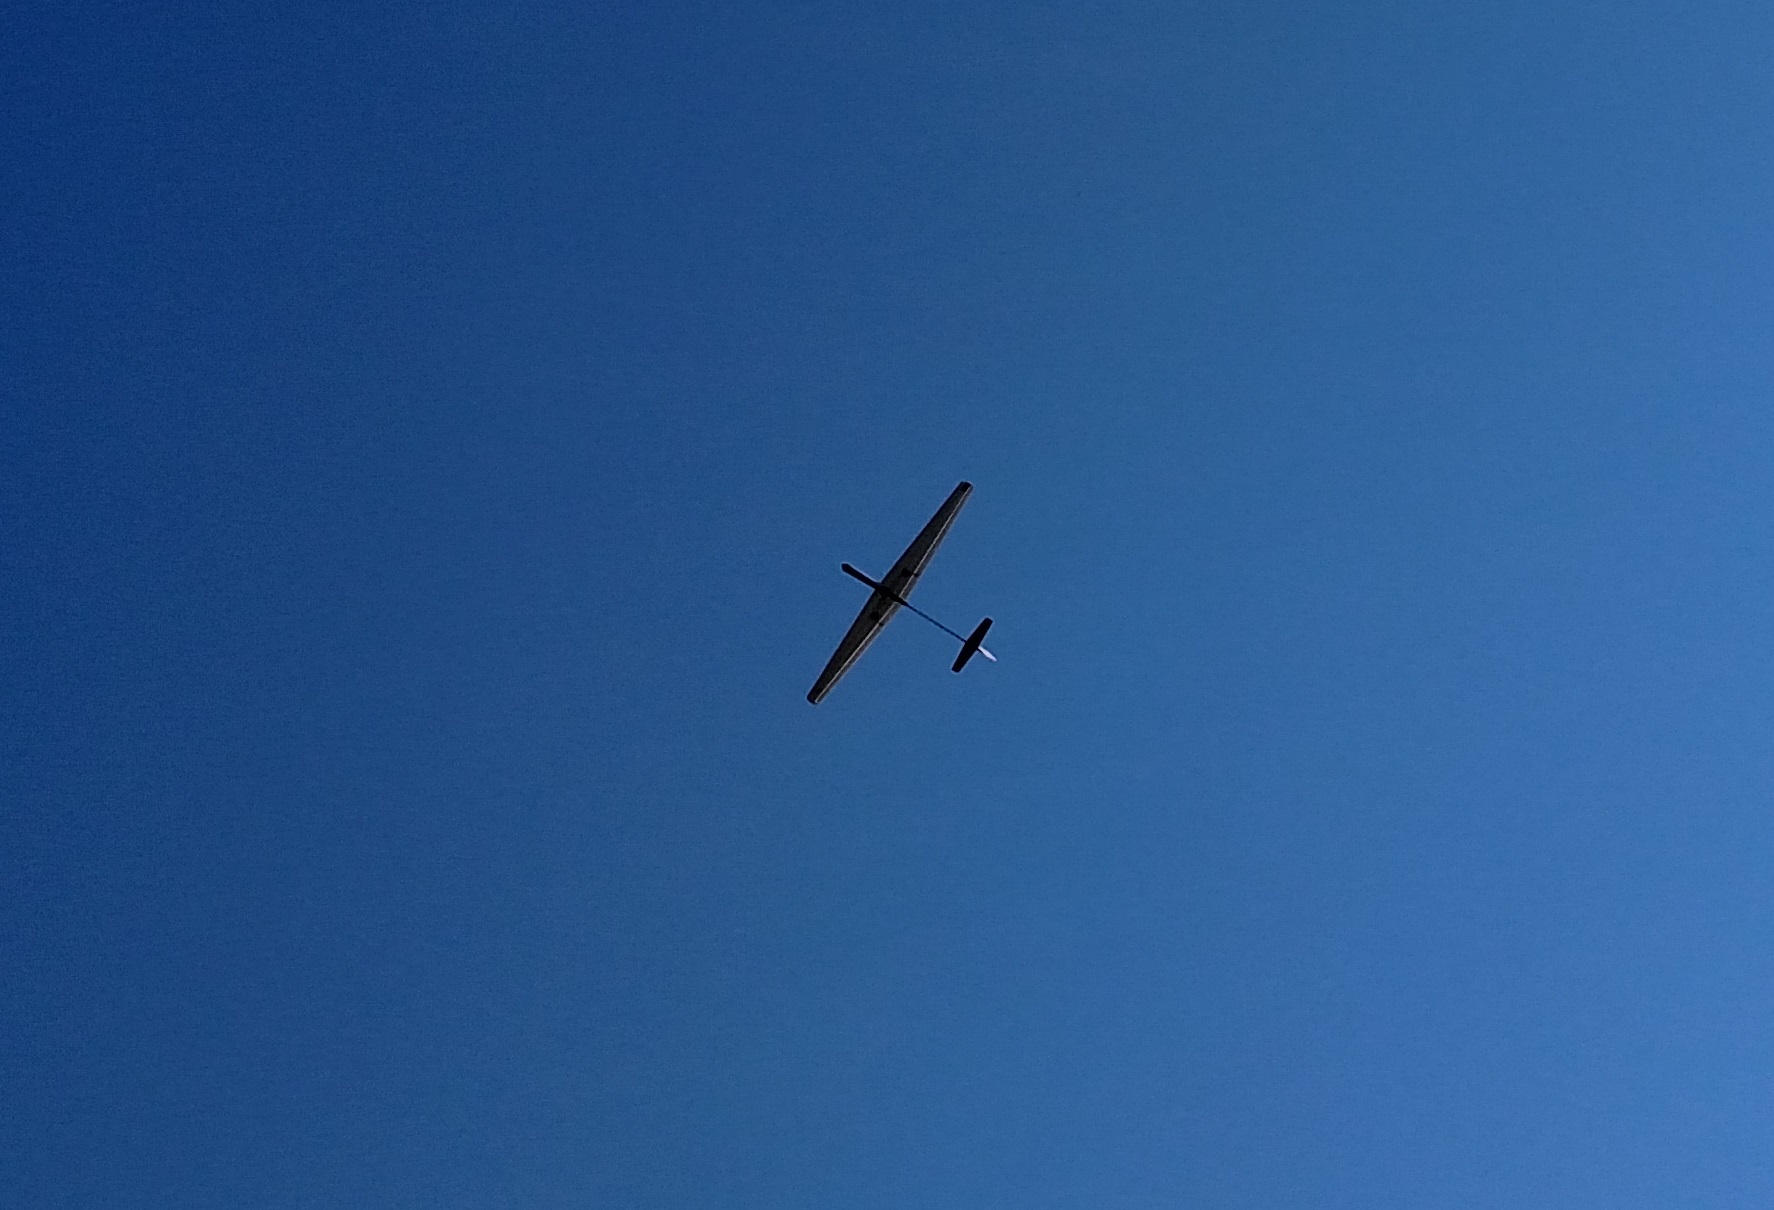
Flight footage:
An interesting launch technique:
J&H Aerospace now produces a domestically available glider similar to this model, the Super Cat’s Meow.
This model is sort of an obsession for me (Josh). I don’t know why. I built my first one at age 13 and couldn’t get it to fly. In hindsight, the CG was too far aft. I ended up making a new longer fuse for it and it flitted about nicely for 20-30 seconds. Not bad for someone with zero mentoring and a cobbled together prop. Oh, and wood sizes double what is shown on the plan because finding 1/64″ balsa was impossible for me at the time.
I built a new one around 2012 using balsa given to me by Steve Fauble of Texas. This gift also contained the balsa which was used in my Last Best Hope Mk.III F1D which nabbed my first AMA national record in February 2014. You can now purchase the necessary wood from specializedbalsa.com. They’re great folks and will hook you up with very sizeable sheets of 1/64″ light balsa for a surprisingly low cost compared to the indoor wood suppliers.
Anyway, here’s the plan, resurfaced through a great deal of searching as it isn’t available at any of the usual sources. I originally got it from David “Dannysoar” Dodge’s Twin Pushers and Other Free Flight Oddities website, now long since defunct.
David has vanished from the internet. I wonder what became of him. I blame him for my first exposure to Class A ROG Stick, now known more commonly as AROG. It is the oldest aviation competition class in the world which still uses the original rules (commonly called Baby ROG back in the day). I have plans for models as early as 1932 which would not only be legal today, but competitive. Several designs as early as 1928 are available, but probably wouldn’t be able to compete effectively against today’s models. More on this in the future…
Anyway, scale the model so that the page outline is 8 1/2″x11″ and you’ll have roughly the original size of the model. It uses a lot of dihedral, and the center cutout is a nifty trick for getting it correct. My model has a very high pitched prop, about 2:1 P/D, and this seems fine. It’s very stable and flies shockingly well–over 2 minutes under a 30′ ceiling. Forget thrustline adjustments…and that’s ok. Bending the tail surfaces seems to be sufficient.
In case you needed any more motivation, here’s a video of it flying along with another excellent Baby ROG, the Clearfield:
I obtained plans for the Clearfield from Vance Gilbert after seeing a video of him flying one. Here are his remarks from July 2015:
“Hey Doc,
Hope you’re well..
It’s an ROG from the 1932(?) Clearview Model Company. Or something like that. It was a little plan in a stack of stuff left in the attic of tom Hallman’s dad, left by his dad’s childhood friend (wacky history enough for you?).
Lemme see if i can scrounge it up (in the basement somewhere or in a file from Tom) and scan it to you.
Mine is like an drunken gnat!! Carved prop and all, bamboo legs. That was probably its best flight ever. Pretty satisfying.
Nice to hear from you, hope all is well…
vg”
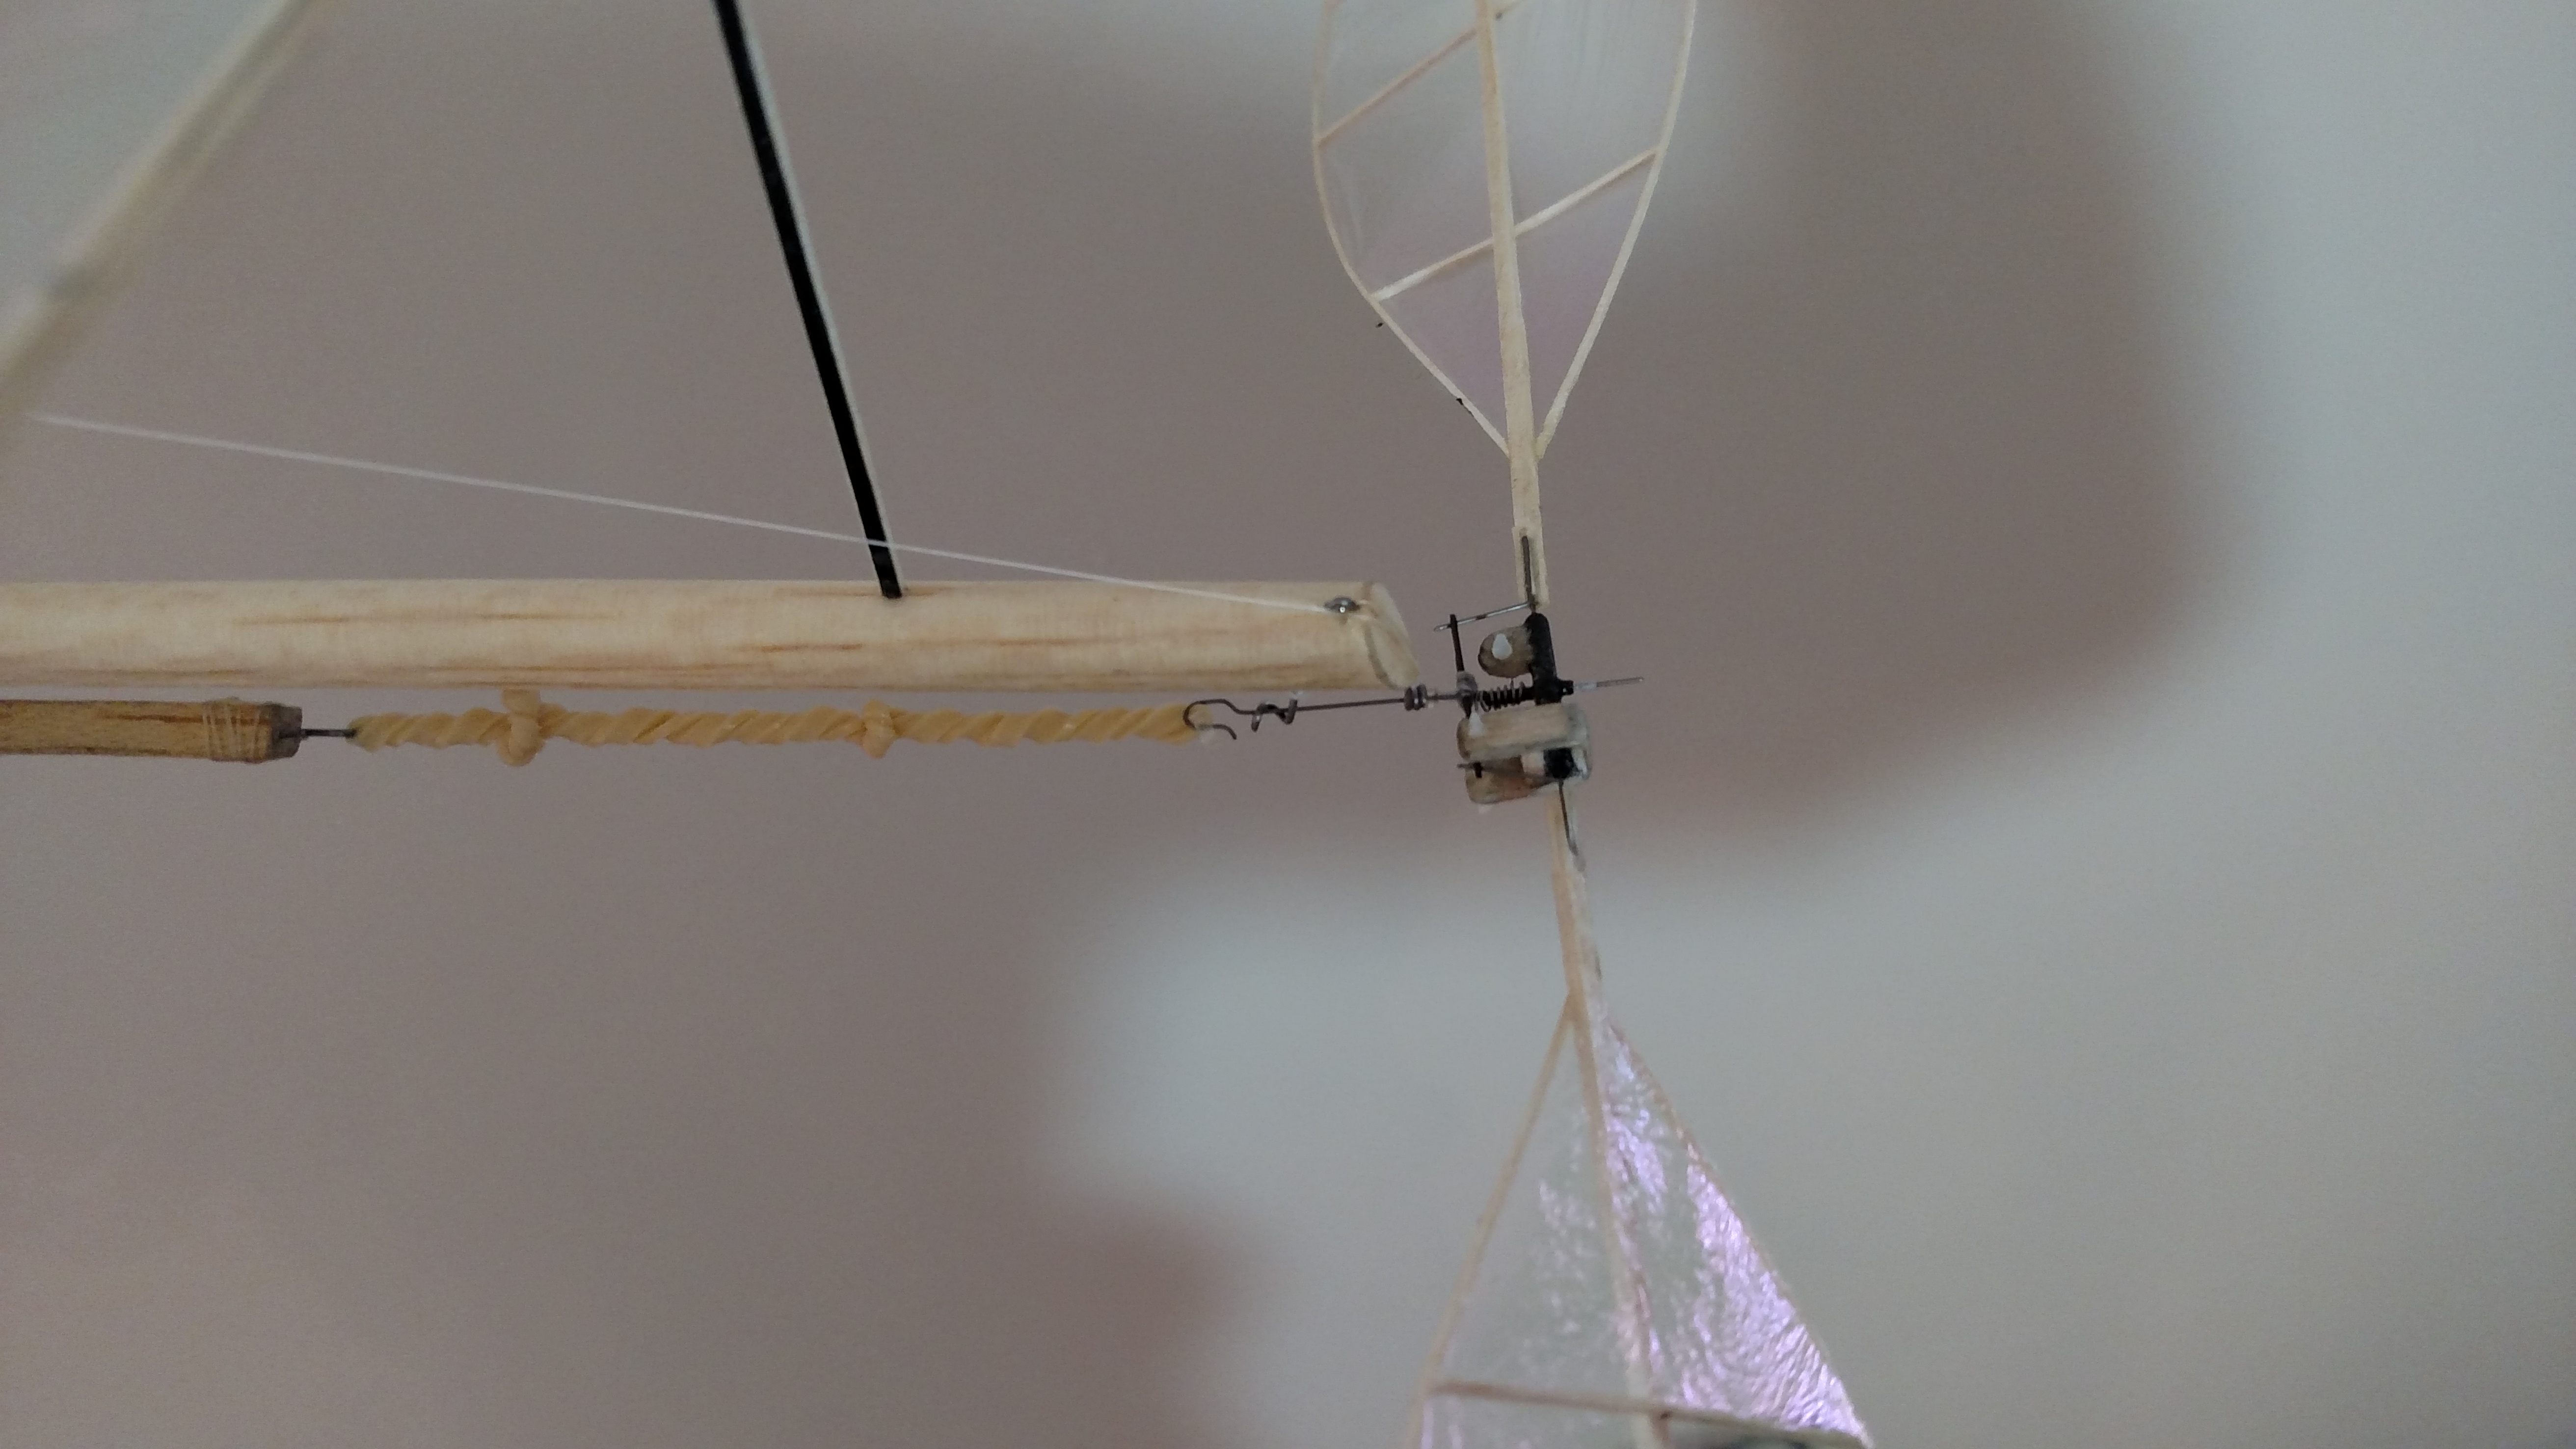
My Clearfield is built almost exactly per the plans save for my own design hooks and a wire thrust bearing in lieu of a sheet metal one. I doubt those things change its performance one bit. It’s a solid plane, if a bit quirky. The plans suggest 3 minute potential, a mighty feat in those days, and ironically a mark I personally haven’t hit. It’s a good model. Let us know if you build one.
By the way, here’s Vance’s rendition:
Bonus: Pete Andrews’ 1932 Senior record AROG which flew 6:36. Tissue covered at that!
Bonus #2! Garami also published the incredibly cute Phone Booth Special. I’ve built two of these, and still have the first one which was covered in condenser paper and flew a good 3+ minutes. I also built a lighter one covered in microfilm. It’s long since gone for obvious reasons but was a truly amazing flier.
We have released three kits now which are eligible for 2018/2019 Science Olympiad competitions, the Protege, intended for Elastic Launched Glider (Division B), the Carbonette 12 SO, intended for high ceiling Elastic Launched Glider contests, and the Senior Flyer, intended for Wright Stuff (Division C).
While these kits are one option for competition, you can also use the build videos for these models as a resource for building your own models for Science Olympiad or more broadly, indoor free flight contests in general.
Update: Protege kits purchased after 20 December 2018 no longer require special glues or sanding for the flaps. Use regular CA for the flaps, and do not sand them. These flaps are exceptionally durable and have greatly improved the building utility of this kit.
Protege build video:
Protege flying session:
Trimming example:
If you purchased a Protege after 20 December 2019, it contains Vector Foam flaps which can be rigidly attached using CA glue. This enables you to split the flaps at the wingtips, allowing improved performance in some cases, and improve glide transitions in most cases.
Trimming notes on the Protege:
Low ceiling gliders can be very frustrating, but they are also very rewarding. You have to operate on the ragged edge to get that slow floating glide, and that makes the models extremely unforgiving.
Glide circle direction is being hotly debated in SO circles. Here’s my take on it. There’s no efficiency benefit to flying one direction or the other since the models are symmetrical. There is, however, an advantage to flying the model in a direction that’s optimized for human physiology. So if you’re right handed, it’s easier to launch in a right bank. That sets you up for a right turn if you’re flying lightweight gliders, but it requires a course reversal if you’re flying heavier ones, so they have to be flown in left glide circles.
Be sure to have students figure out how far back to pull to get within 1 foot of the ceiling. If they can transition between the girders, all the better. In terms of flight stability and CG, if you’re having trouble with flight trim, more stable is better.
When I’m trimming these models, I start with glide testing in a very conservative manner. I first ballast the models to get the CG at the flap join (this is for the Protégé and its variants) at the wing root and then keep adding up elevator until the model gives me a straight, steady glide. Then I start cranking in right rudder to force the right turn. The model will usually bank excessively when enough rudder is applied to get a 20-25’ glide circle, so I then grab the right wing near the root and twist in to give myself some left aileron (if looking down the pylon from straight in front, I should see the left wing level, and see a little of the underside of the right wing, meaning it is placed at a higher angle of attack). This will usually require inputting more right rudder.
Now proceed toward throwing the model harder, wings level, straight ahead. You want the model to fly straight briefly before nosing up a little and pulling off to the right in a shallow right bank. It should then gradually nose down into the glide, leveling its wings as the speed bleeds off. You’ll have to experiment with differing amounts of elevator, rudder, and right wing twist (remember that adding wing twist to the right wing gives you up elevator) until you get a satisfactory pattern.
The glide will likely deteriorate as you change these settings. If it starts stalling AFTER transitioning to glide (stalling before transition means you need either more right rudder or less up elevator), it’s ok to add nose weight, but if it starts diving a little, provided it does nose up on launch, you should probably just leave it alone until you’ve got the transition trimmed. If it’s banking steeply in the glide after transition, add more wing twist.
Now proceed to catapult launches at 60-70 degrees nose up in a right bank. Adjust the right bank until the model banks just enough to slide into the glide (basically what you showed in that video, but to the right). Unless the model pitches up a lot on launch, you can leave the elevator trim alone. If it starts to nose down on launch, add more up elevator. Observe the glide once your launches and transitions are ok and start adding/removing nose weight until the model is gliding as slowly as possible without stalling. After that you can start tweaking the glide circle for the best flight pattern by adjusting the rudder very carefully, with the understanding that this will change the amount of right bank you need on launch.
After that, just work on launch consistency. Funny tidbit: this procedure actually drives you toward the optimum CG even though you’re intentionally starting nose heavy.
Carbonette series build instructions:
Carbonette 12 flight trimming:
Senior Flyer build, part 1:
Senior Flyer build, part 2:
Senior Flyer build, part 3:
Senior Flyer build, part 4:
Senior Flyer build, part 5:
Senior Flyer build, part 6:
Removable tailboom mod:
Senior Flyer first flight:
Senior Flyer flight trimming:
How to build a torque meter:
https://www.youtube.com/watch?v=kDoMzyeIzWA
A note on optimizing flight trim with or without a torque meter: Make up a motor, say 6″ long, get an accurate length on it, and then wind until it breaks, carefully counting the turns. Now divide braking turns by motor length to get breaking turns/inch. Start with the 14″ motor I recommend in the videos, and calculate max turns for that motor. Now you can wind easily to 85-90% of breaking turns on that motor. So, wind to that number, then back off to something you know won’t slam the model into the ceiling, and then reduce the backoff progressively until you’re just brushing the rafters. The next bit is, once you have the model trimmed for an efficient cruise by moving ballast around and adjusting the pitch trim (incidence changes, as mentioned in the video), to start playing with rubber motor length so that you can optimize the motor. What you want is for the backoff to roughly equal the number of turns at landing. And that process gets you 95% of the way to absolute max performance.
Josh Finn has built several new models this fall building on the findings of the 2017 contest season. Additionally he has designed two new hubs which are now available for sale, the F1D v3.0 and its beefy sibling, the Unlimited v3.0 which is the result of his efforts to build a practical FAI Unlimited class model. Josh’s first Unlimited was built in January 2015 and has won Hand Launched Stick at USIC for two years running, this year posting an authoritative 31 minute flight.
After the Nats, Josh upgraded this 29″ span model to a massive 42″ and over 350 sq in of wing area. At just over 2g its wingloading is on part with most of the record setting models made famous by Jim Richmond and others. It is more heavily loaded, however, than John Kagan’s and Steve Brown’s 60 minute models. Josh’s new hub is the heart of the 25.5″ prop used on this model, one of the largest indoor VP props ever built.
Josh also built a new F1R, this time enlarging the wing to almost ridiculous proportions, and was rewarded with a flight of 24 minutes from only 10′ off the floor at its very first flying session. A month later it achieved an unprecedented 28:05 at St. Luke’s for a new Cat I USA record. Our popular F1R v2.0 hub provided superb energy management on this flight.
J&H Aerospace is pleased to announce the successful completion of the new Spinster DLG, a super low-tech DLG that will cost about $30 to build and serves as an excellent introduction to DLG/F3K. It only takes a couple of evenings to build and has a removable wing so you can easily transport it to the flying field!
You will need the following materials to build this model:
1 sheet of Adams foam board
1 sheet of 3/32″x3″x36″ balsa, preferably C-grain
1 carbon fiber arrow shaft or Goodwinds.com boom, at least 32″ long (NOT a pultruded boom–those are too heavy).
4 micro servos; the Hextronic/Towerpro 9 g analog servos are more than sufficient. Search Ebay for “9g servo” to find the current lowest prices.
1 4+ channel micro receiver. Banggood has reliable dsm2 receivers for $6.
1 round cell Lipo battery (Turnigy 1000 mah is excellent).
1 Jst connector for the battery.
Up to 3 servo extension wires (battery and aileron servos, depending upon length of wires–I only needed a battery extension).
1 small piece of 1/4″ balsa sheet.
1 piece of 1/64″ plywood (5″x5″ is sufficient).
1 piece of 1/32″ plywood (2″x2″ is sufficient).
1 piece of 1/16″ plywood (3″x10″ is sufficient).
1 .070″x.437″x23″ Carbon Rectangle strip from CST.
1 .016″x.118″ Carbon Rectangle strip from CST (at least 5″ long)
30 lb test spiderwire braided fishing line.
1 36″ length of .039 piano wire.
1 small block of blue foam or similar (at least 2″ cube).
1 sheet of computer paper.
Masking tape, packing tape (or Blenderm), CA glue, and hot glue.
While it is possible to fly this model with a 4 channel radio, you will need to fly with a forward CG and use a y connector to slave the ailerons, which will eliminate the flapperon function. DLGs are very mode-sensitive (I use 1/8″ flapperon droop in glide and 45 degrees droop for landing). I recommend at minimum a Spektrum DX6i or equivalent (Flysky i6 may be sufficient with a micro receiver).
Screen shots of the plans showing the parts layout:
Stay tuned for an upcoming build article at Flitetest.com and please bear in mind that the plans are still sparse on build notes. The article will clear that up, and we will share critical segments of it here. For those wanting a head start, you should begin by watching Nerdnic’s speed wing build video, which is very similar to the building methods used for this model.
J&H Aerospace is pleased to announce the introduction of our new carbon VP hub for F1M. At less than 300 mg it is very light, yet robust enough to handle the high torque values common on F1M models. In fact this hub is stressed to handle the launch torques of Open Pennyplanes. Adjustment screws are provided for all three common adjustments on indoor VP hubs, and spar tubes for 3/32″ propeller spars can be installed for no extra charge.
Now that Hope and Josh have recovered from the F1D World Championship, we are going to start uploading footage from various flying activities again. In the meantime, here are some propeller building videos we meant to upload back in February.
First up is how to double taper balsa spars. I use this technique for all of my propeller spars from ministick all the way up to unlimited:
Next up, how to build F1D propellers. This is a question we have received over and over, probably second only to how to cover indoor models. This is not the technique most indoor fliers use, and you may find that you do not like it. As they say, your mileage may vary.
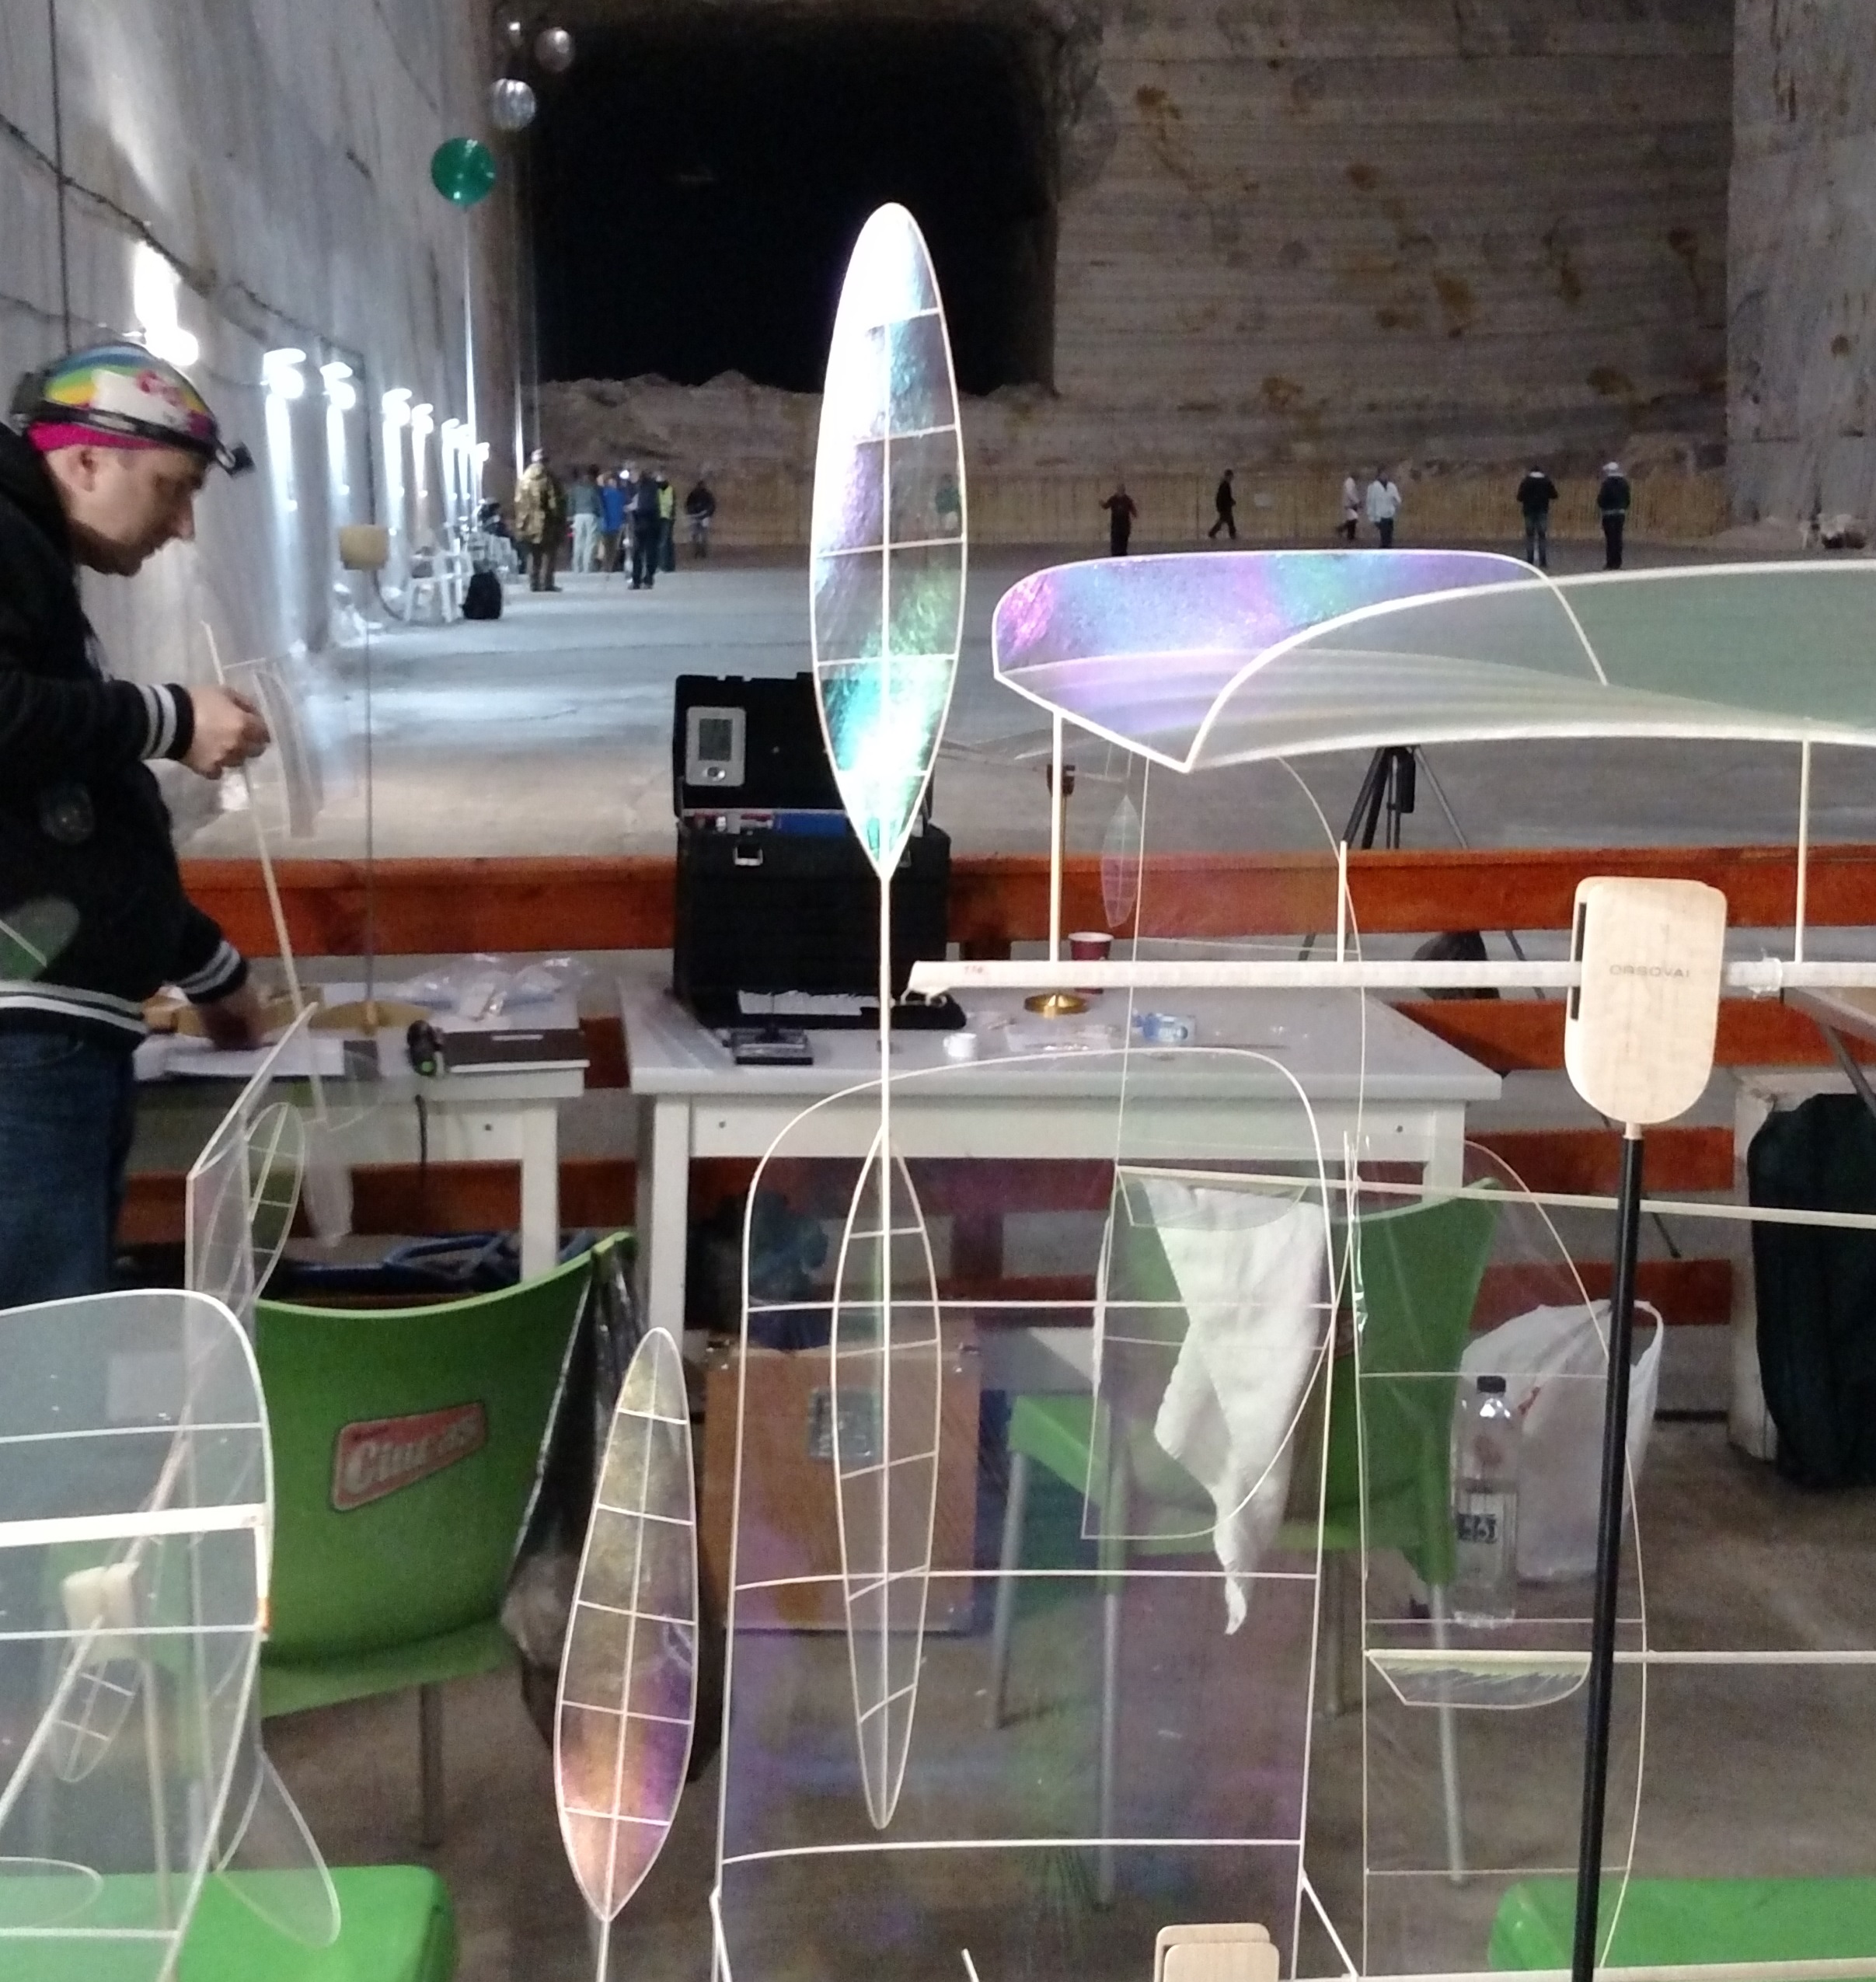
We hope to begin uploading footage from Slanic very soon. Stay tuned as the updates begin. Josh’s phone has a couple hundred video clips from the past 6 months of flying and it all needs to be sorted out.
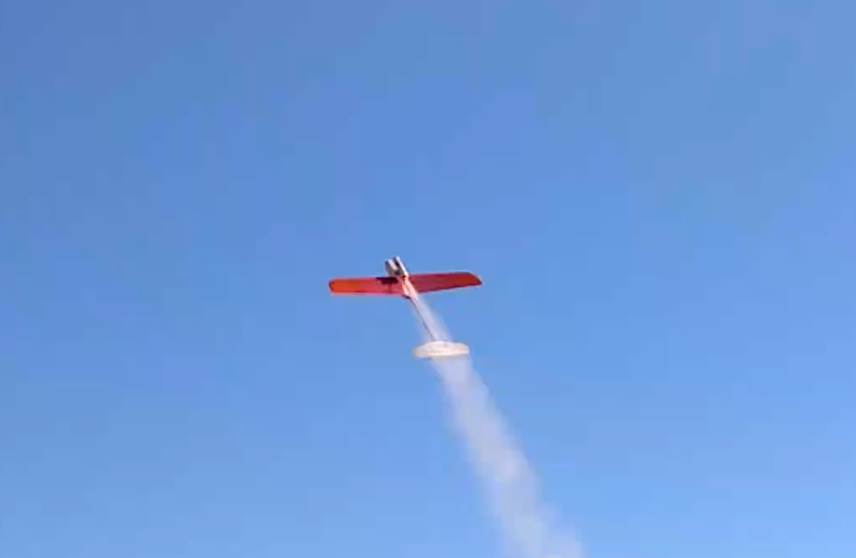
We have now finished the first composite Red Shift rocket glider and it has completed numerous successful flights. This model has fully lived up to expectations with a very impressive glide and excellent structural strength. It has good control authority throughout its flight envelope.
This model features full composite construction. The wings are vacuum bagged with xps foam cores, fiberglass skins, carbon spars, and live hinges. The ZoneV2 airfoil was used on all of the wings we’ve made so far, but we may switch to the StanfoilBE2 in the future if it demonstrates an improvement in glide performance. Weight is 6.5 g per wing panel.
The model features a bolt-on rocket pod so that it can be converted very quickly to a pure glider. The tail surfaces, like the wings, are vacuum bagged. In this case, thin balsa is used for the cores. The fuselage pod is balsa sealed in fiberglass for maximum strength. The wrapped carbon tube we chose for the boom is incredibly stiff, but so lightweight that the only ballast you need is a 1s 350 lipo in the nose!
Controls are ailerons and elevator. There is enough room in the fuselage pod for three servos so those who wish can program the model for flapperons. The elevator is driven by a spring/string control which provides excellent response without any hint of flutter at engines up to C size. The model thermals easily in light air and is fully aerobatic. The speed range really is superb with an incredibly low stall speed.
We decided to mix things up a bit more and provide some more options. You may have noticed the blunt nose on this model. The reason for this design is that it provides an excellent place to mount a 5 gram 1105 outrunner!
We chose the inexpensive and very well built Eachine 4000 kv motor on an aluminum sheet motor mount which screws into the sides of the pod for quick and easy installation. Hobbyking makes a very nice 4.4×3.1 folding prop which, with a few minor modifications to remove excess material, fits nicely on this motor. It was necessary to grind a flat in the motor’s shaft to ensure proper retention since it is made for a larger shaft than what is used on this motor. With this modification the hub screws on securely with grub screws and shows no imbalance at full throttle.
E-flite’s 5A esc is tiny enough to fit in the pod with a Dinogy 2s 200 Lipo, Spectrum AR6110e micro receiver, and two Turnigy 3.5 g servos. The model does require 4 g of lead on the rudder to balance with these extras, but it still flies excellently. The result is a tiny backyard warmliner.
The model does not have unlimited vertical as its thrust to weight ratio is right around 1:1, but it still has a superb climb rate. The roll rate is extremely high, and the model does fly reasonably well inverted. More importantly, even light, patchy thermals will yield long flights. This model is extremely responsive in lift–if you fly into lift you’ll know it!
J&H Aerospace is very pleased with this new model and we look forward to offering it for production as the smallest warmliner available and the only ARF rocket glider on the market. We plan to offer this model almost ready to fly with minimal assembly required. You’ll glue the boom in place, install your servos, right the control linkages, and be ready for flight. The airframe will cost roughly $150 USD.
“So can I see it fly?” Absolutely! Here is a compilation of flight test footage we put together. Yes, it’s winter here and we had to maiden this model in wind strong enough to really test the wind penetration of this model. Hopefully we’ll get some better weather in the future in which this model can really show off.
Joshua broke his nineteen minute F1R record at the October TTOMA contest using the new F1R v1.1 hub in excellent conditions. On this flight, the model climbed continuously until the 13 minute mark, expending a great deal of available energy which could have been devoted to a longer cruise.
After numerous tests, it became apparent that the torsion shaft setup on the v1.1 hub is too stiff to provide a fully optimized flight profile in Cat I sites, so Joshua built a prototype hub using a wound torsion spring like those used on larger hubs. While much more difficult to build, this setup produced the soft spring needed for this flight profile.
After a long day of F1D testing at the November TTOMA contest, Joshua pulled out the Girder Grabber II, and after a few quarter motor flights, launched the model with this new hub. Unfortunately it hit a patch of bad turbulence and stalled in after climbing to about 15 feet. Joshua launched his second attempt without rewinding the model. This took at least 30 seconds off the clock and wasted valuable climb energy so that the model never reached the ceiling. It climbed very slowly for about 5 minutes before leveling out. The second climb began around 12 minutes and gained about 5 feet of additional altitude. Final descent began a little after 18 minutes. The model maintained a nice nose-high attitude all the way down to achieve an impressive 23:33, the new US record for Cat I F1R. Joshua believes the model is capable of much longer times if he can beat the turbulence and fly the model in warmer weather.
The new F1R v2.0 hub is now available in our store for $45. If you fly small low ceiling models, this is the hub for you!
Here’s a little footage of the record setting flight. This was taken around the 14 minute mark, and you can see that the model is slowly climbing.
A few people have asked me how I coat boron fibers with glue to secure them to motorsticks/tailbooms/etc. I made a coating tool some years ago that works great for this. It’s made from thin aluminum (about the same as a coke can). I formed it into a bowl shape with pliers, and over a hard surface, punched a sewing pin through it which was reamed out to about .020″ diameter. Using the sewing pin to punch through flares the hole slightly so that the boron fiber slides in more easily.
To use this tool, pour a glob of Duco in and thread your boron fiber through the hole. Wait about 10 seconds before grabbing the protruding end of the boron on the other side. You can now grasp the mostly dried end and pull the fiber all the way, being careful to pull straight down. This is best done while standing so that you can let the freshly coated fiber fall freely to a hanging position between your fingers. Wait for the glue to tack up and then set the fiber aside for use. The glue is reactivated using acetone once the fiber is in held in place on the intended component.


 David has vanished from the internet. I wonder what became of him. I blame him for my first exposure to Class A ROG Stick, now known more commonly as AROG. It is the oldest aviation competition class in the world which still uses the original rules (commonly called Baby ROG back in the day). I have plans for models as early as 1932 which would not only be legal today, but competitive. Several designs as early as 1928 are available, but probably wouldn’t be able to compete effectively against today’s models. More on this in the future…