We have released three kits now which are eligible for 2018/2019 Science Olympiad competitions, the Protege, intended for Elastic Launched Glider (Division B), the Carbonette 12 SO, intended for high ceiling Elastic Launched Glider contests, and the Senior Flyer, intended for Wright Stuff (Division C).
While these kits are one option for competition, you can also use the build videos for these models as a resource for building your own models for Science Olympiad or more broadly, indoor free flight contests in general.
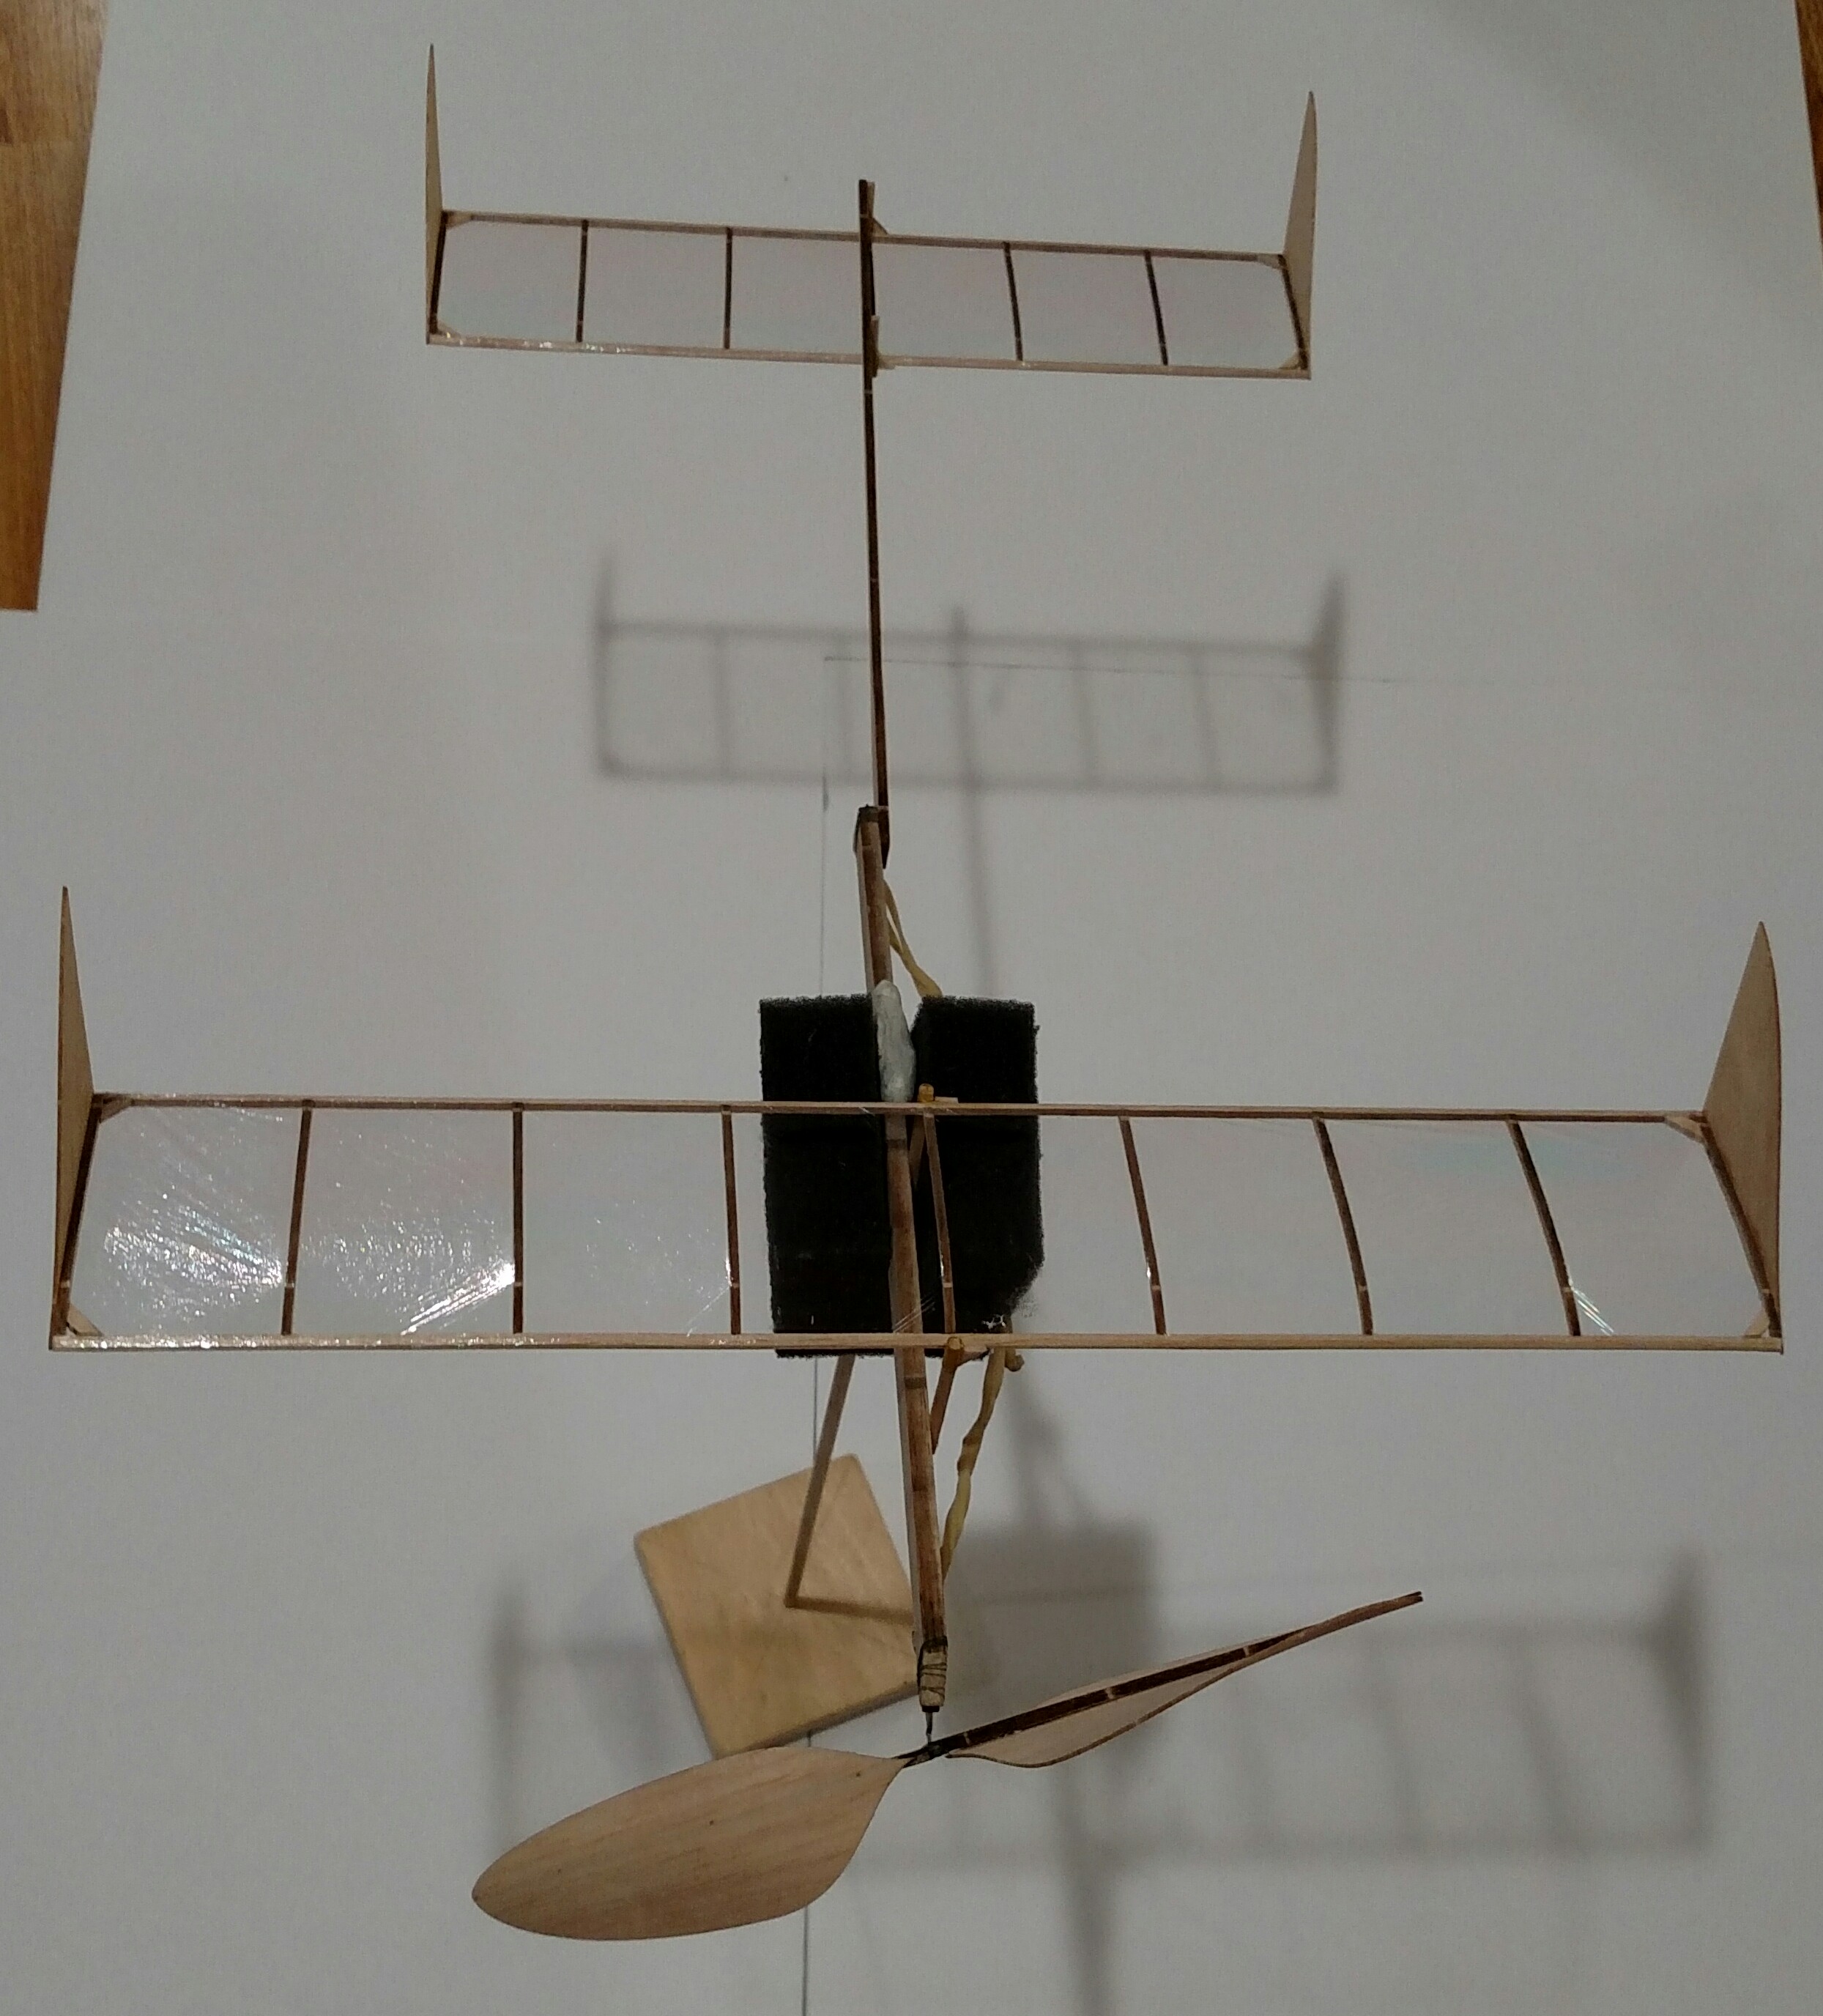
Update: Protege kits purchased after 20 December 2018 no longer require special glues or sanding for the flaps. Use regular CA for the flaps, and do not sand them. These flaps are exceptionally durable and have greatly improved the building utility of this kit.
Protege build video:
Protege flying session:
Trimming example:
If you purchased a Protege after 20 December 2019, it contains Vector Foam flaps which can be rigidly attached using CA glue. This enables you to split the flaps at the wingtips, allowing improved performance in some cases, and improve glide transitions in most cases.
Trimming notes on the Protege:
Low ceiling gliders can be very frustrating, but they are also very rewarding. You have to operate on the ragged edge to get that slow floating glide, and that makes the models extremely unforgiving.
Glide circle direction is being hotly debated in SO circles. Here’s my take on it. There’s no efficiency benefit to flying one direction or the other since the models are symmetrical. There is, however, an advantage to flying the model in a direction that’s optimized for human physiology. So if you’re right handed, it’s easier to launch in a right bank. That sets you up for a right turn if you’re flying lightweight gliders, but it requires a course reversal if you’re flying heavier ones, so they have to be flown in left glide circles.
Be sure to have students figure out how far back to pull to get within 1 foot of the ceiling. If they can transition between the girders, all the better. In terms of flight stability and CG, if you’re having trouble with flight trim, more stable is better.
When I’m trimming these models, I start with glide testing in a very conservative manner. I first ballast the models to get the CG at the flap join (this is for the Protégé and its variants) at the wing root and then keep adding up elevator until the model gives me a straight, steady glide. Then I start cranking in right rudder to force the right turn. The model will usually bank excessively when enough rudder is applied to get a 20-25’ glide circle, so I then grab the right wing near the root and twist in to give myself some left aileron (if looking down the pylon from straight in front, I should see the left wing level, and see a little of the underside of the right wing, meaning it is placed at a higher angle of attack). This will usually require inputting more right rudder.
Now proceed toward throwing the model harder, wings level, straight ahead. You want the model to fly straight briefly before nosing up a little and pulling off to the right in a shallow right bank. It should then gradually nose down into the glide, leveling its wings as the speed bleeds off. You’ll have to experiment with differing amounts of elevator, rudder, and right wing twist (remember that adding wing twist to the right wing gives you up elevator) until you get a satisfactory pattern.
The glide will likely deteriorate as you change these settings. If it starts stalling AFTER transitioning to glide (stalling before transition means you need either more right rudder or less up elevator), it’s ok to add nose weight, but if it starts diving a little, provided it does nose up on launch, you should probably just leave it alone until you’ve got the transition trimmed. If it’s banking steeply in the glide after transition, add more wing twist.
Now proceed to catapult launches at 60-70 degrees nose up in a right bank. Adjust the right bank until the model banks just enough to slide into the glide (basically what you showed in that video, but to the right). Unless the model pitches up a lot on launch, you can leave the elevator trim alone. If it starts to nose down on launch, add more up elevator. Observe the glide once your launches and transitions are ok and start adding/removing nose weight until the model is gliding as slowly as possible without stalling. After that you can start tweaking the glide circle for the best flight pattern by adjusting the rudder very carefully, with the understanding that this will change the amount of right bank you need on launch.
After that, just work on launch consistency. Funny tidbit: this procedure actually drives you toward the optimum CG even though you’re intentionally starting nose heavy.
Carbonette series build instructions:
Carbonette 12 flight trimming:
Senior Flyer build, part 1:
Senior Flyer build, part 2:
Senior Flyer build, part 3:
Senior Flyer build, part 4:
Senior Flyer build, part 5:
Senior Flyer build, part 6:
Removable tailboom mod:
Senior Flyer first flight:
Senior Flyer flight trimming:
How to build a torque meter:
https://www.youtube.com/watch?v=kDoMzyeIzWA
A note on optimizing flight trim with or without a torque meter: Make up a motor, say 6″ long, get an accurate length on it, and then wind until it breaks, carefully counting the turns. Now divide braking turns by motor length to get breaking turns/inch. Start with the 14″ motor I recommend in the videos, and calculate max turns for that motor. Now you can wind easily to 85-90% of breaking turns on that motor. So, wind to that number, then back off to something you know won’t slam the model into the ceiling, and then reduce the backoff progressively until you’re just brushing the rafters. The next bit is, once you have the model trimmed for an efficient cruise by moving ballast around and adjusting the pitch trim (incidence changes, as mentioned in the video), to start playing with rubber motor length so that you can optimize the motor. What you want is for the backoff to roughly equal the number of turns at landing. And that process gets you 95% of the way to absolute max performance.