A recent discussion on the Yahoo Indoor_Construction forum revealed the need for more tutorials on installing wire bearings and hooks in rolled tube fuselages, particularly for beginning F1D fliers.
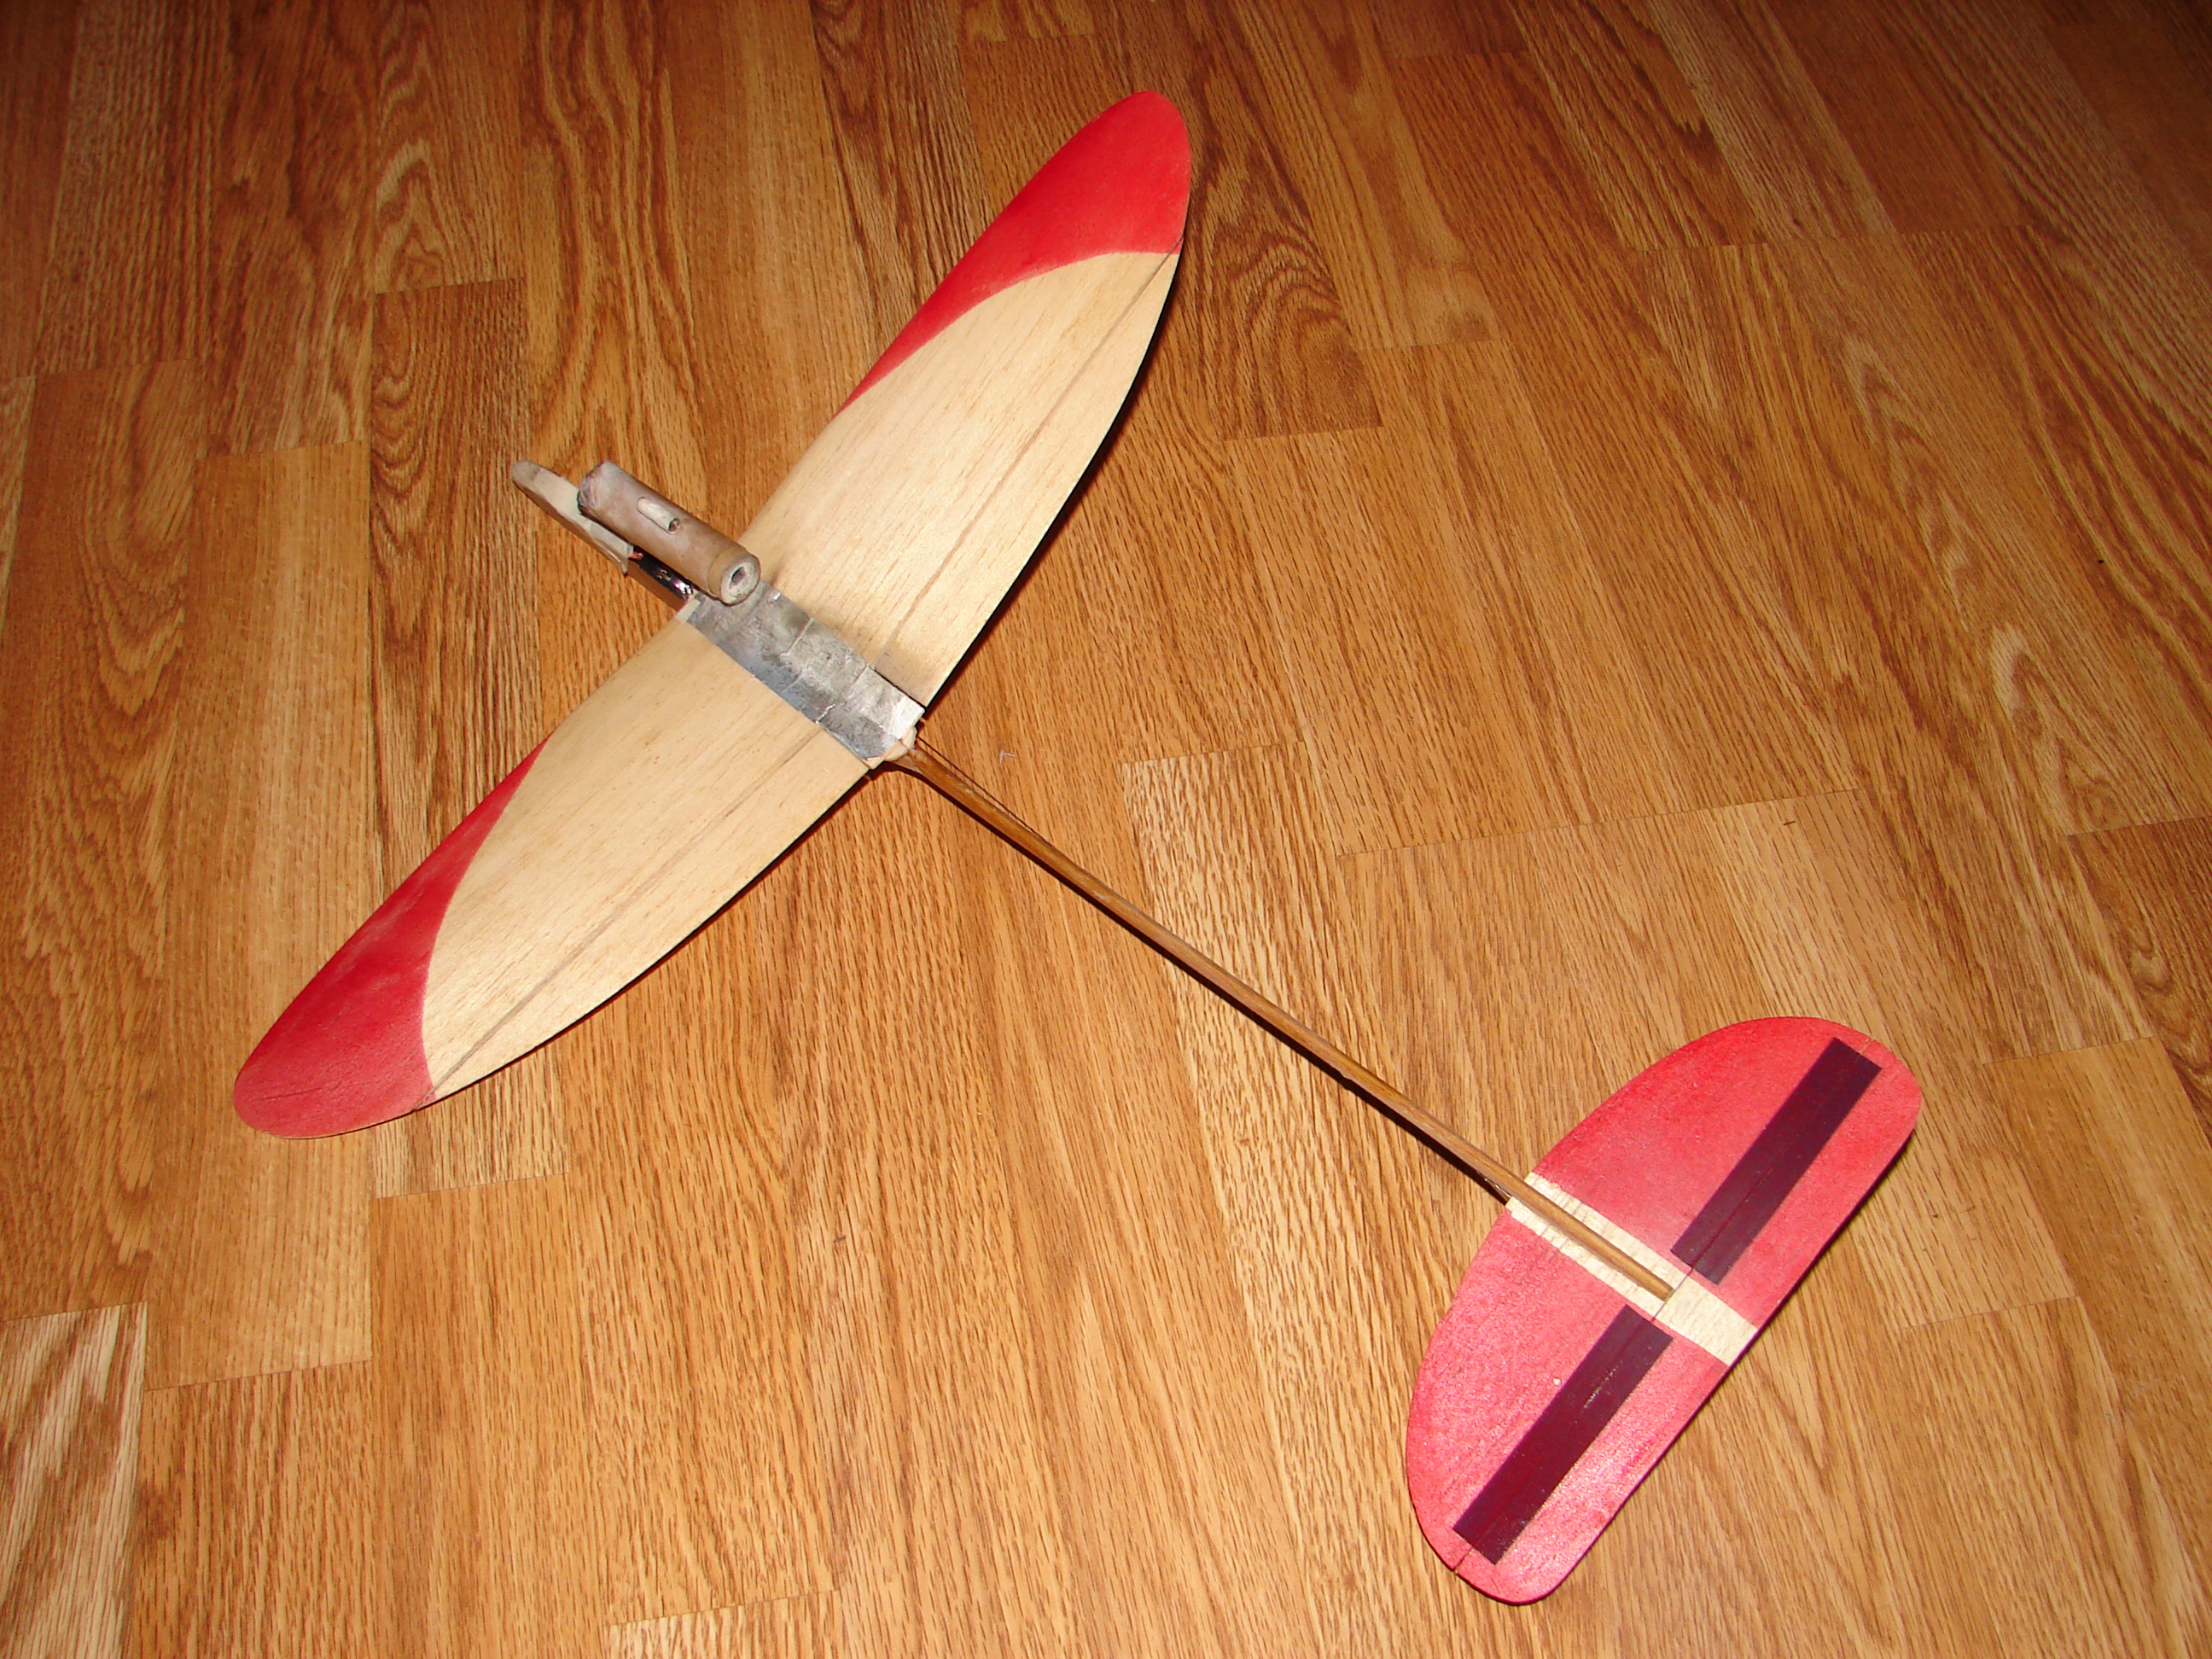
What follows is my personal method. Some will find it too heavy, others too difficult. This is the reason why there are many different methods for installing your hardware on an F1D. The model used below is actually an F1M. I use the same technique for both, but F1M’s are much easier to photograph.
Let’s get started…
I begin with a motor tube trimmed to length but without any taper cut into the front. My bearings are formed to allow proper clearance on the prop shaft, both for length and spacing from the motorstick. Usually my webbing material is the same thickness as the motorstick wood. In this case, the motorstick is .017 C grain and so is the webbing. The bearing and hook are .025″ wire because I had the weight budget for it and didn’t want any flexure in these parts. Notice the slight notch in the webbing sheet. This is created by sliding the sheet against the front of the motorstick and pressing it in slightly to crush the wood there. This does crush the top of the motorstick slightly as well, but that part will be cut off later anyway. Use the notch to get the exact width of the webbing.


Cut the webbing to length and size as shown using the notch as a guide.

I cut three pieces of webbing. One for the bearing, one for the hook, and one for facing on those webs.

Use a small amount of CA glue to secure the bearing and hook to the webbing. This is not a place to try to save a lot of weight. These parts will be under extreme loads at launch torque.

Cut the extra webbing piece in half to get your facing parts and use Duco to secure each half onto its respective piece of webbing. I actually hold the part in my fingers, crushing the facing slightly into the wire to get a firm mounting. The duco will set fairly quickly and result in a permanent entrapment of the wire.

Cut a slot in the bottom of the motorstick the length and width of the bearing so that it can be slid into place. Hopefully the only bow in your stick is along the seam, and the stick should bow toward the seam. You can then cut along the seam and make that part the bottom of the stick. The bracing wire’s tension will pull the stick straight. You will also need to cut a corresponding slot in the top of the stick if your bearing protrudes out the top as mine does to form the mounting eyelet for your bracing wire.

Smear a liberal coat of duco on the top and bottom of the webbing. Do not delay here…

Quickly slide the web/bearing assembly in place with one smooth motion. Do not stop until it is all the way in or it will stick quite permanently! I’m sure you could put a thin coat of Duco on and reactivate it with acetone, but this method has worked well for me for the past 4 years of contest flying and doesn’t add enough weight to be a problem, even on F1R models where weight is critical.

Now you can cut the from of the motorstick to a slope right back to the bearing wire (meaning you need to cut through the webbing, too). Use a sharp, new razor blade to do this without tearing the wood!

Cap the stick off with some more webbing. This cap is critical to keep the stick from collapsing under load in this area. It also prevents your fingers from crushing the stick while loading motors.

Once the glue is dried, trim the webbing with a sharp razor and your front end is finished.

Now on to the rear hook. Mark the motorstick for hook placement, including the dimensions of the facing.

Cut a slot in the motorstick using these guide lines and a sharp razor. The slot needs to be wider in the region of the facing.

Liberally coat the edges of the webbing with Duco just like you did with the bearing, and slide the assembly into the slot, pushing the eyelet of the hook straight through the other side of the motorstick so that the webbing is fully in place. I press a finger against the stick where the hook’s eyelet will punch through so that the wood only tears in the exact point where the eyelet protrudes.

Now seal the slot with a little more Duco, add your hook’s gusset, and the motorstick is ready for wing posts and bracing.